Release Your New Web AppBuilder Widget in Four Steps
So you just wrote a great Web AppBuilder widget, and want to release it to the world so everyone can benefit.
Create the Widget
First create your widget, preferably using the generator-esri-appbuilder-js Yeoman Generator. That way your settings will be correct, your manifest.json file will be filled out, and your files will be in a great structure, optimized for GitHub. Speaking of which …
Upload to GitHub
Upload the file structure to a new GitHub repository. Make sure you put your GitHub repository url in your package.json file. Also make sure your README.md file includes helpful information about the widget — a summary, features list, and, of course, a screenshot. (example)
Create a Demo App
In your GitHub repository, create a new folder called demo, do an export from your Web AppBuilder test app, and extract the HTML/CSS/JavaScript files into that folder. Add an additional task to your Gruntfile called “deploy” and have it publish your demo folder to this repository’s gh-pages branch (example). Now you have a demo of your widget if you go to your-user-name.github.io/your-repository. (example)
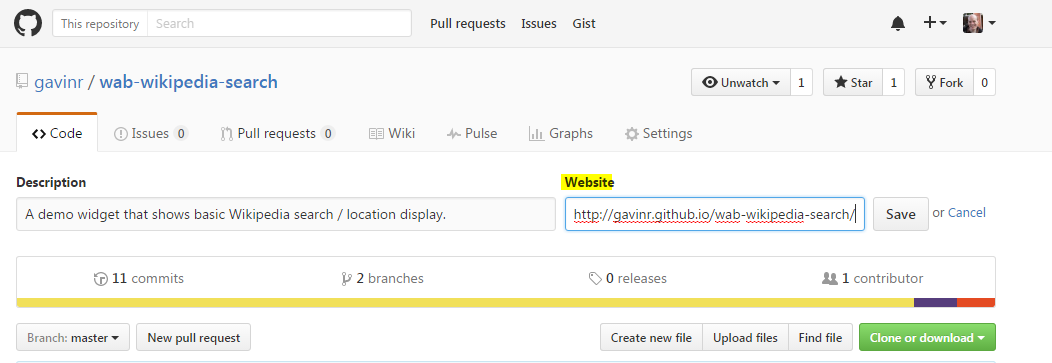
For bonus, take the url of our demo app and make it the “primary url” of your GitHub repository so it’s easy for people to see your demo:

Share and Publicize
ArcGIS Code Sharing - Zip up your widget files and post to ArcGIS Code Sharing. In the description, link to your demo app as well as your GitHub repository (in case you update your widget on GitHub but forget to update Code Sharing in the future). (example)
GeoNet - Post an announcement about your new widget to the Web AppBuilder Custom Widgets Group. Upload your files if you want, or just link to ArcGIS Code Sharing and/or your GitHub repository.
Twitter - Tweet out a link to your new widget. Include a screenshot and the #webappbuilder hashtag.
Other Lists - there are a few other compilation lists out there, like web-appbuilder-widget-search.surge.sh. Most likely ArcGIS Code Sharing will be the place for this in the long-term, but for now it’s probably good to list your widget on these too.
That’s it! Now your widget is destined for fame and fortune. On to the next one!
Subscribe
Get an email summary of my blog posts (four per year):
... or follow the blog here: